Attach channels
Part of the classic, legacy agent editor. Agents created today use Configure an agent instead — see Simple mode for details.
The Channels tab attaches channels to this specific agent and configures them: which platforms the agent talks on, and whether each channel is running. In Simple mode you can attach Web-widget, Telegram, and WhatsApp. When you attach a messaging channel here, you enter its credentials (such as a bot token) directly on this tab — the resulting connection then also appears in Settings > Channels, where all channel connections are monitored and managed.
Channels attached in Simple mode handle inbound conversations: when a customer writes first, the agent replies. Outbound conversations, where the agent writes first, are configured through Campaigns.
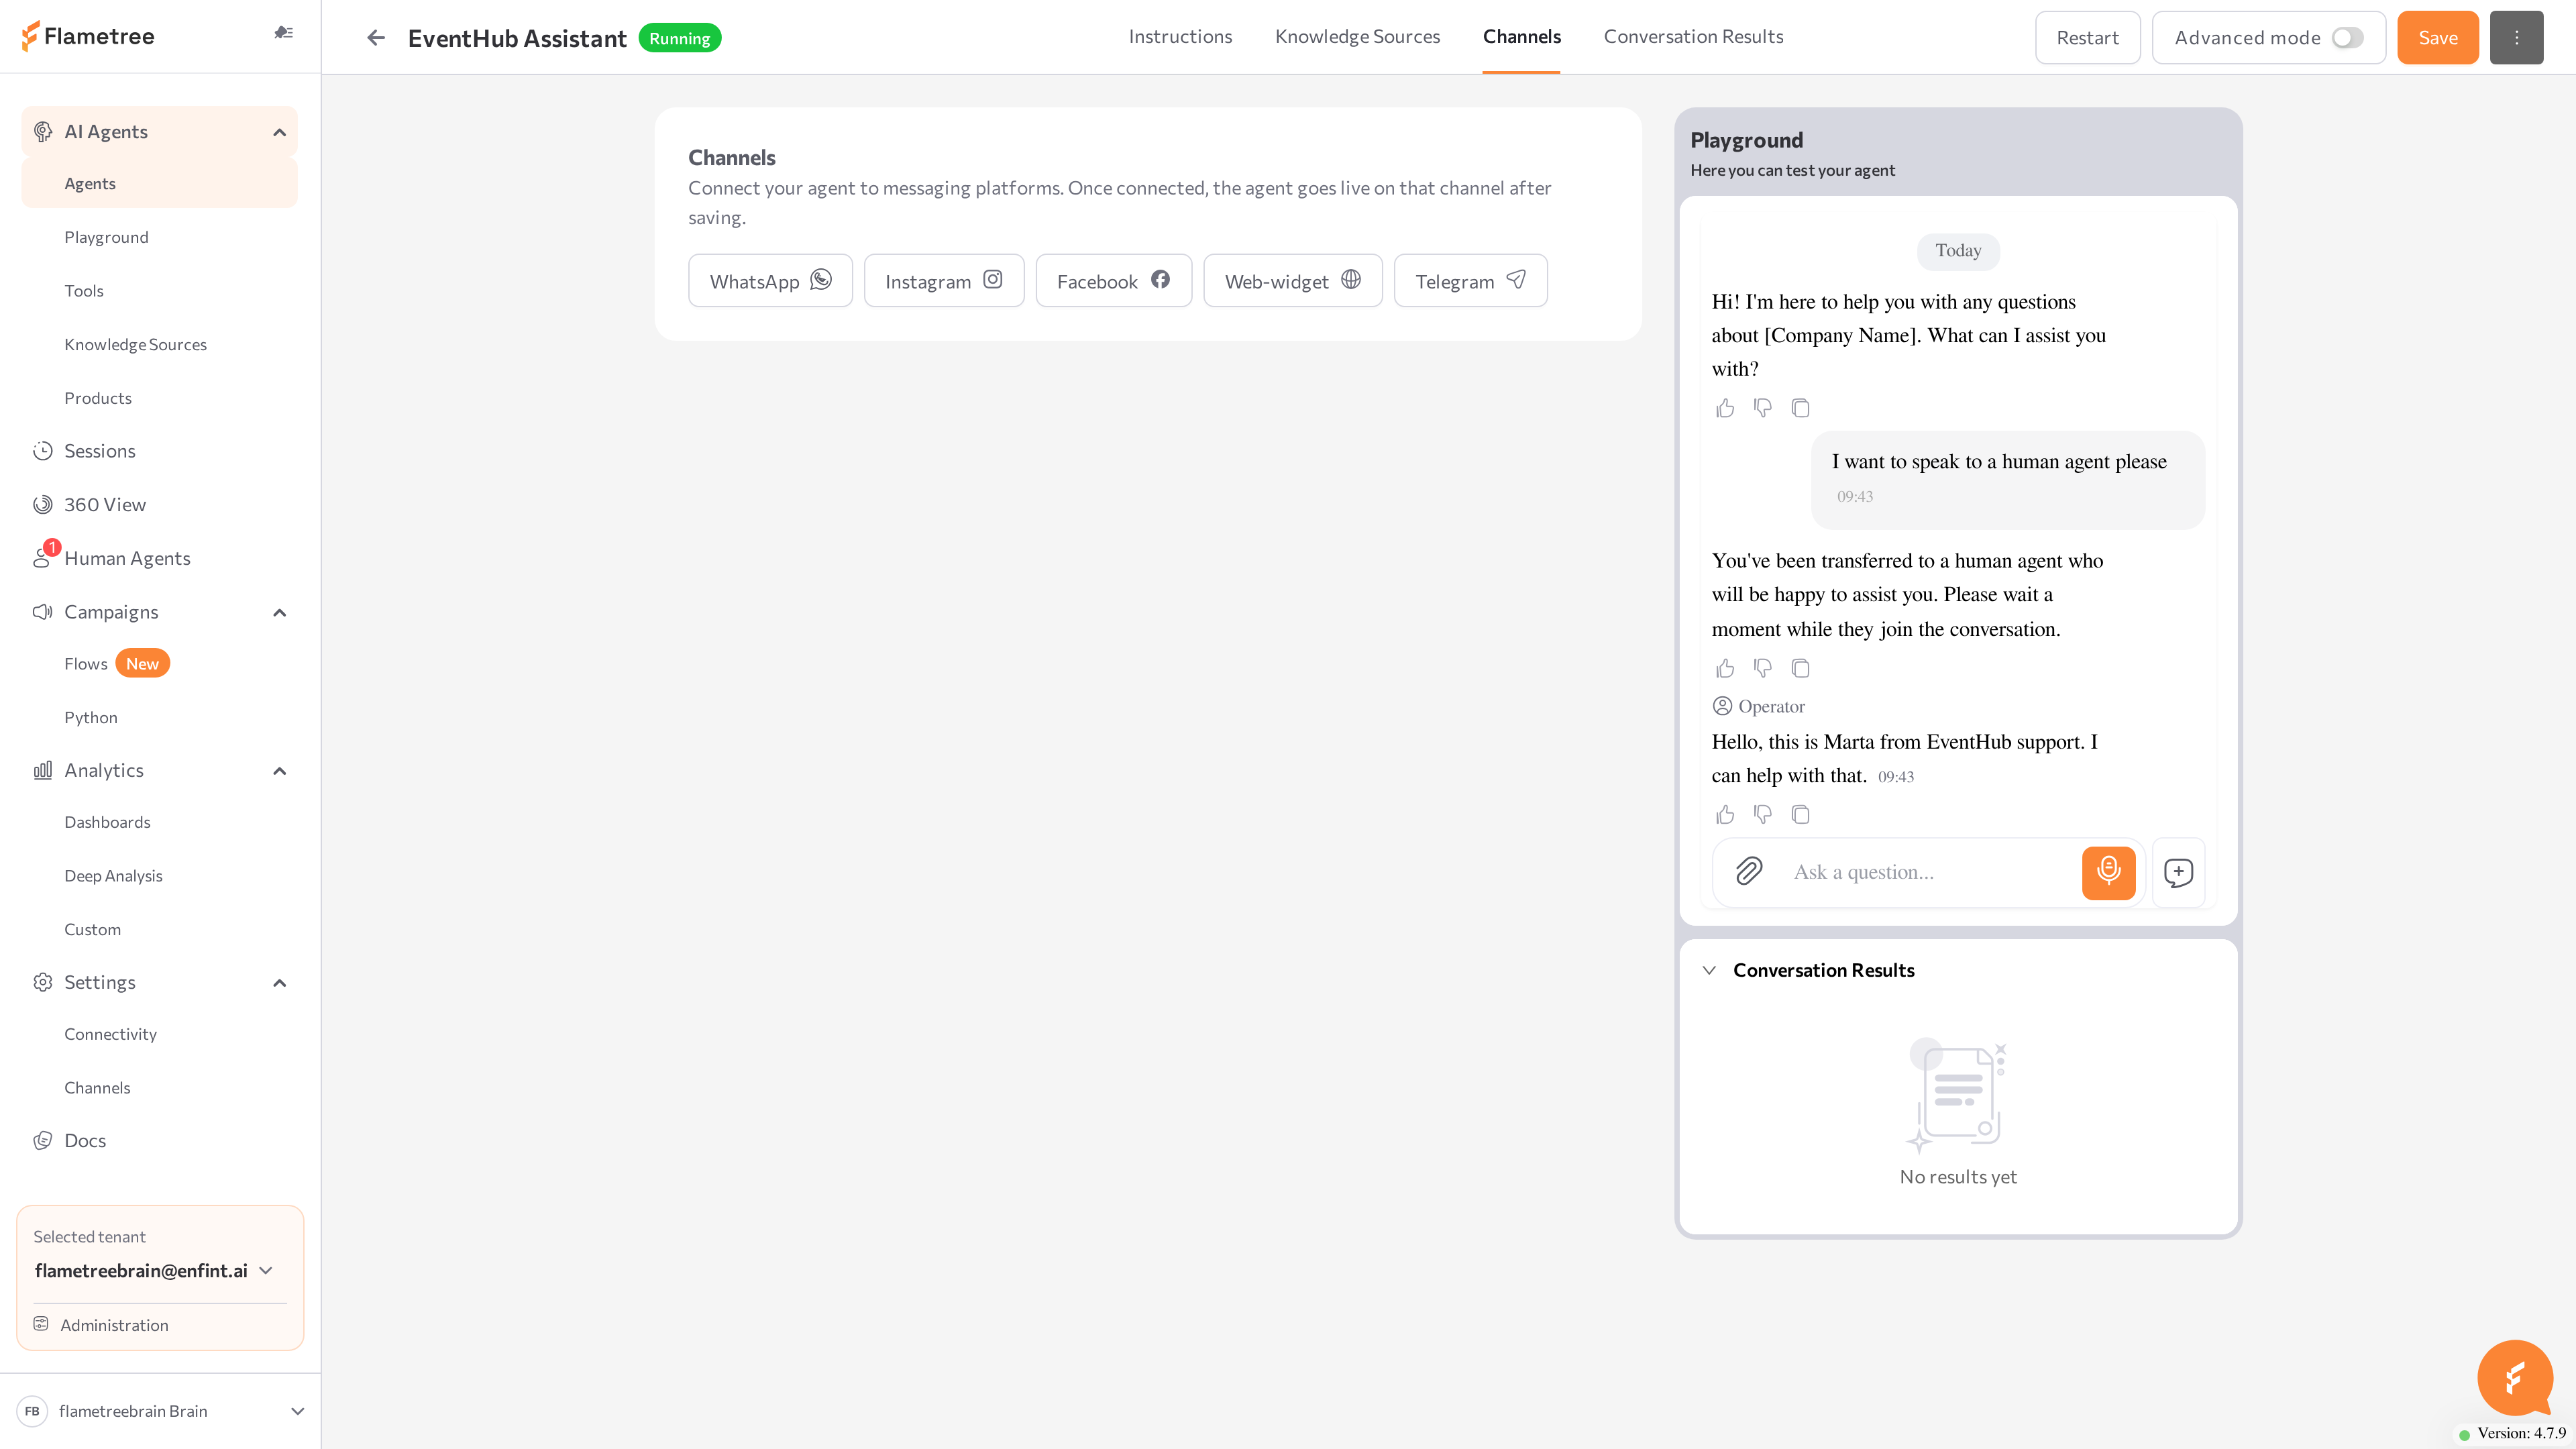
Attach a channel
- On the Channels tab, click the button for the channel you want: WhatsApp, Web-widget, or Telegram.
- A channel row appears. Expand it and complete the channel form — for messaging channels this is where you enter the credentials, such as the Telegram bot token. Click Apply. This creates the channel connection; you can monitor and edit it later in Settings > Channels.
- Click Save in the upper-right corner of the page.
The channel row shows a status badge: RUNNING, STOPPED, STARTING, STOPPING, or ERROR. Use the Start / Stop button on the row to control the channel, and Delete to detach it from the agent. When the row shows RUNNING, writing to the agent on that channel gets a reply that follows your Instructions.
A messaging channel (one Telegram bot, one WhatsApp number) can serve only one inbound agent at a time. If the channel is already in use, the portal shows which agent uses it.
On this tab, a Telegram channel's bot token is locked once the channel is created. To change it, edit the connection in Settings > Channels by pasting a new token over the masked value — or delete the channel here and create a new one.
Set up the Web widget and demo page
The Web-widget channel embeds a chat on your website. The widget is documented under Settings > Channels > Web Widget, but you configure it here, on the agent page. Expand the Web-widget row to set:
- Settings — Tooltip text (the invitation bubble next to the button) and Allow voice messages.
- Appearance — Choose an existing icon or Create a custom icon, Floating button size (40–150 px), Button color, and Icon color.
Then:
- Click Apply to save the widget settings.
- Click Copy HTML code and paste the snippet into your site's HTML.
- Click Open demo page to try the widget on a hosted demo page — no website changes needed. The demo opens in a new browser tab.
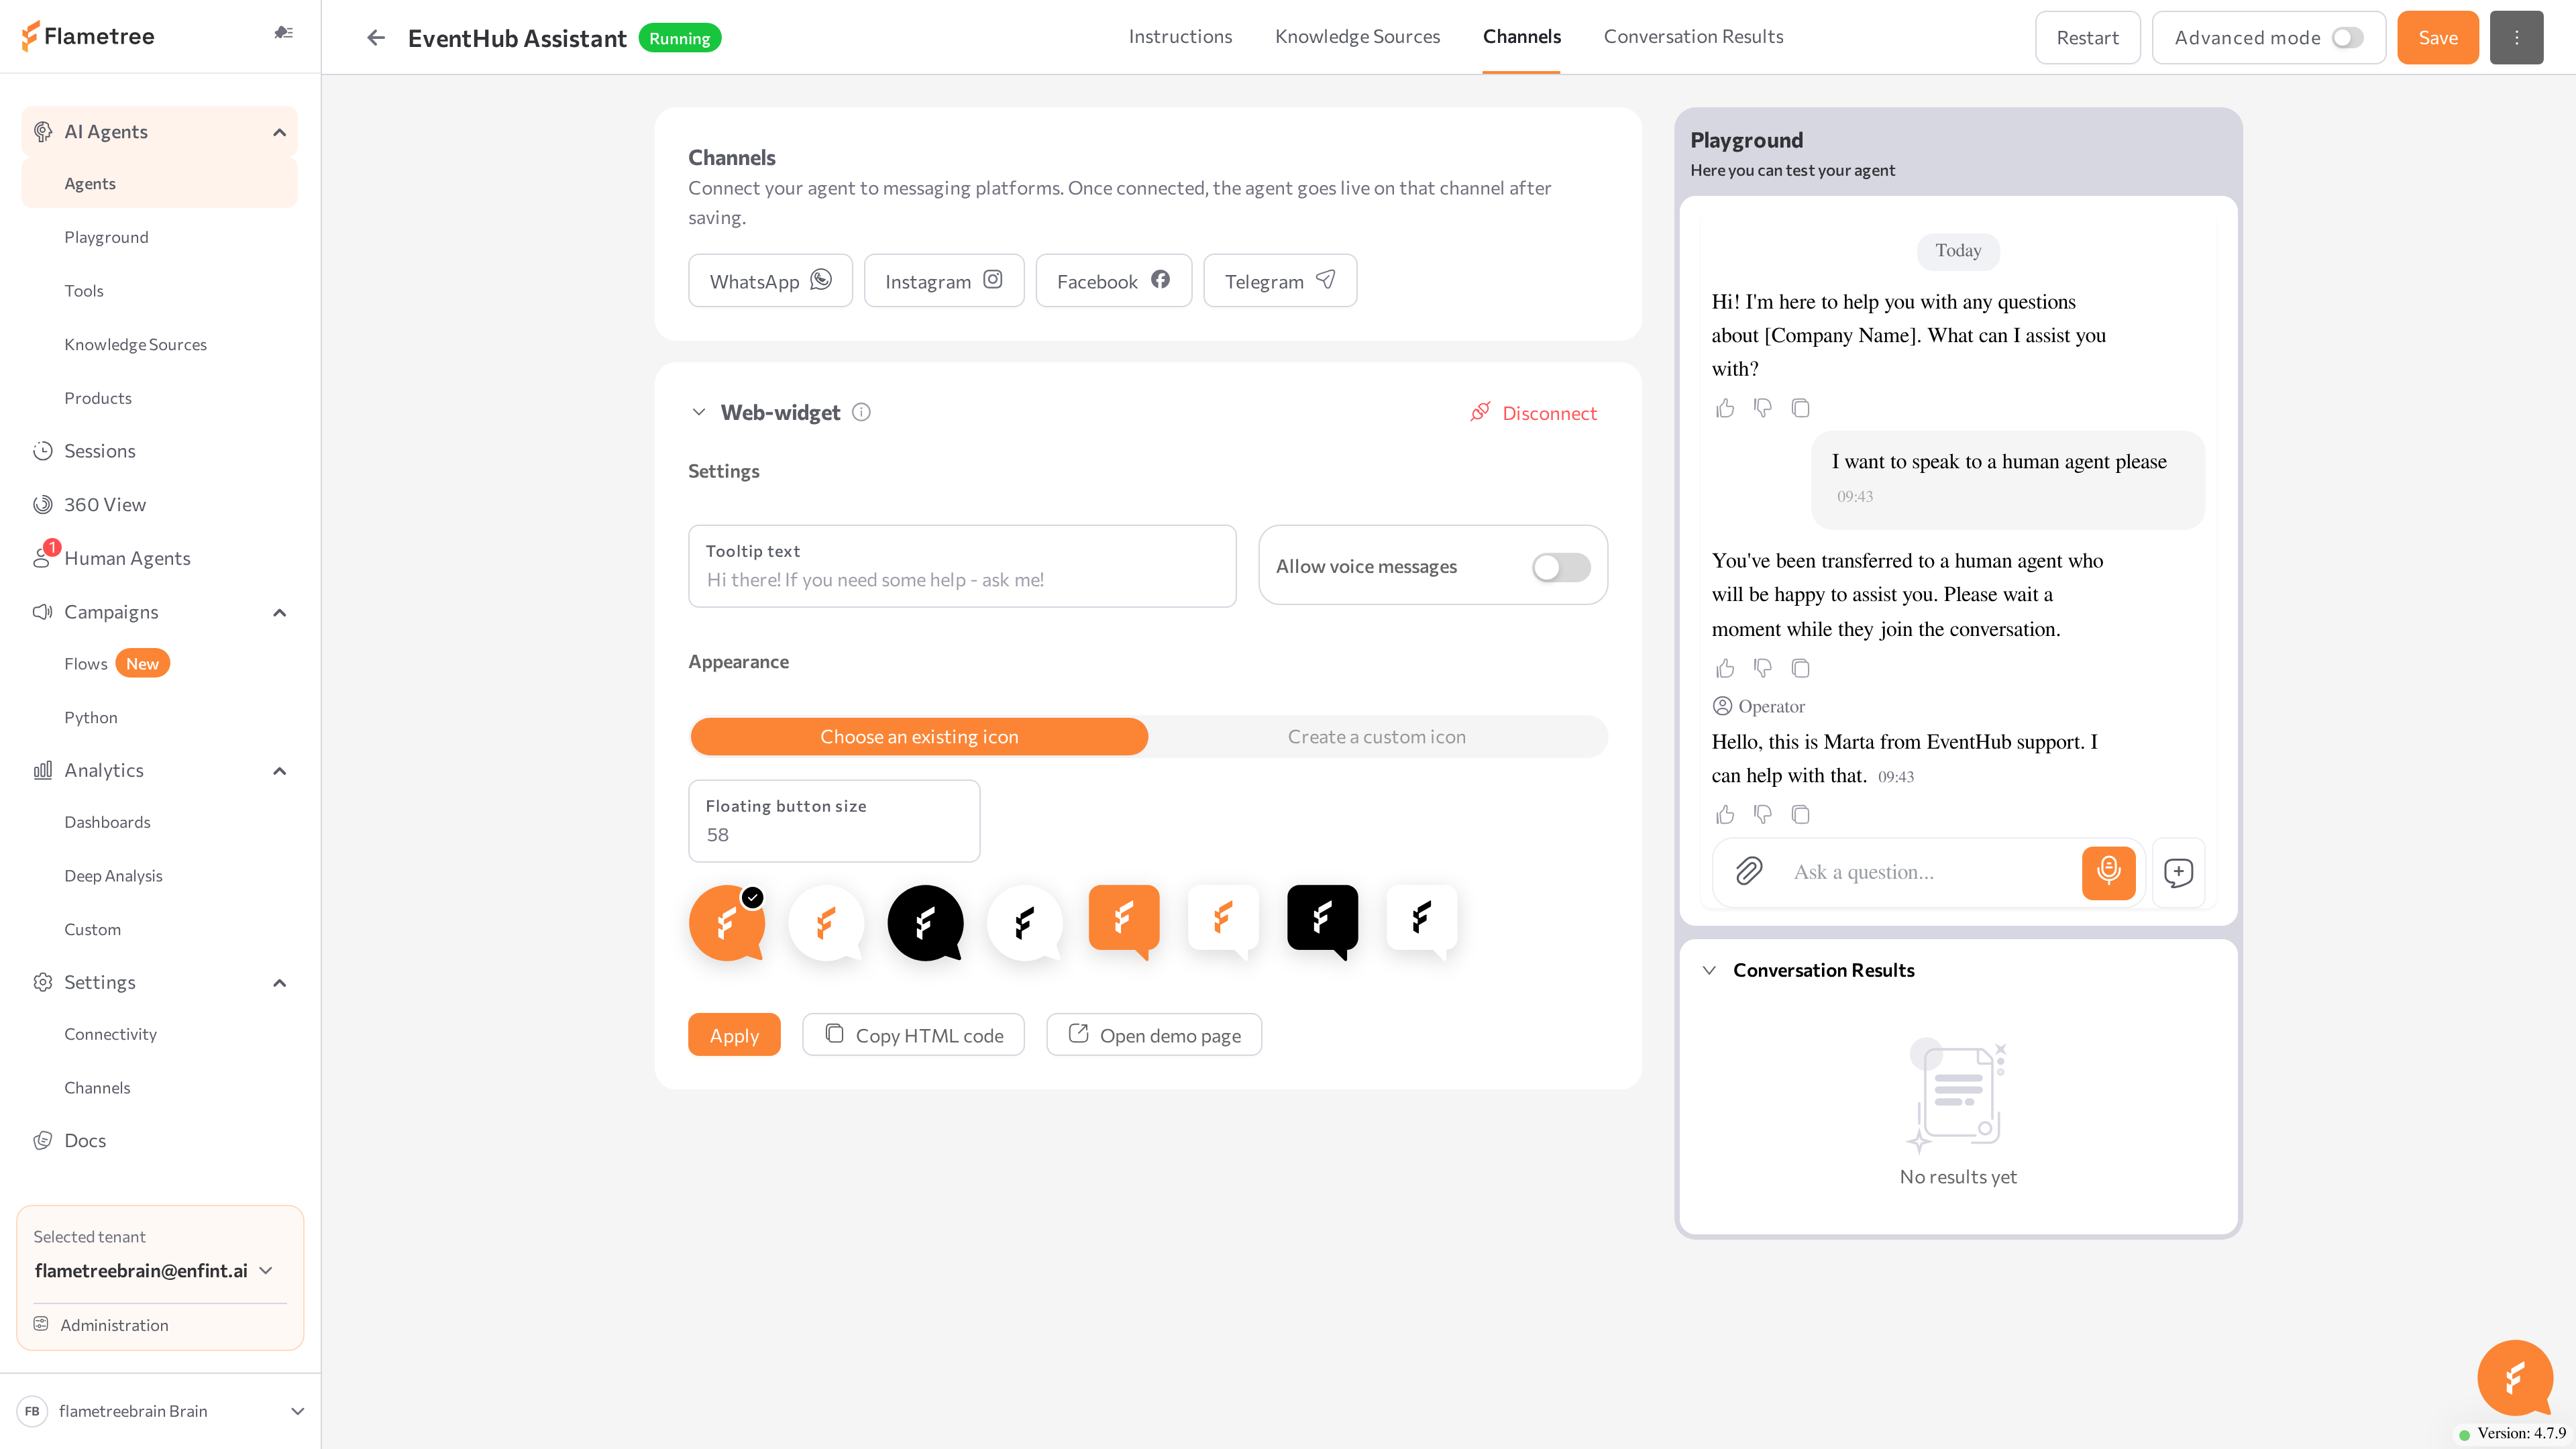
Use the demo page to show the agent to stakeholders before embedding the widget on your real site.
Related pages
- Simple mode overview
- Settings > Channels — connect and manage reusable channel connections
- Web Widget — full web widget configuration