Profile
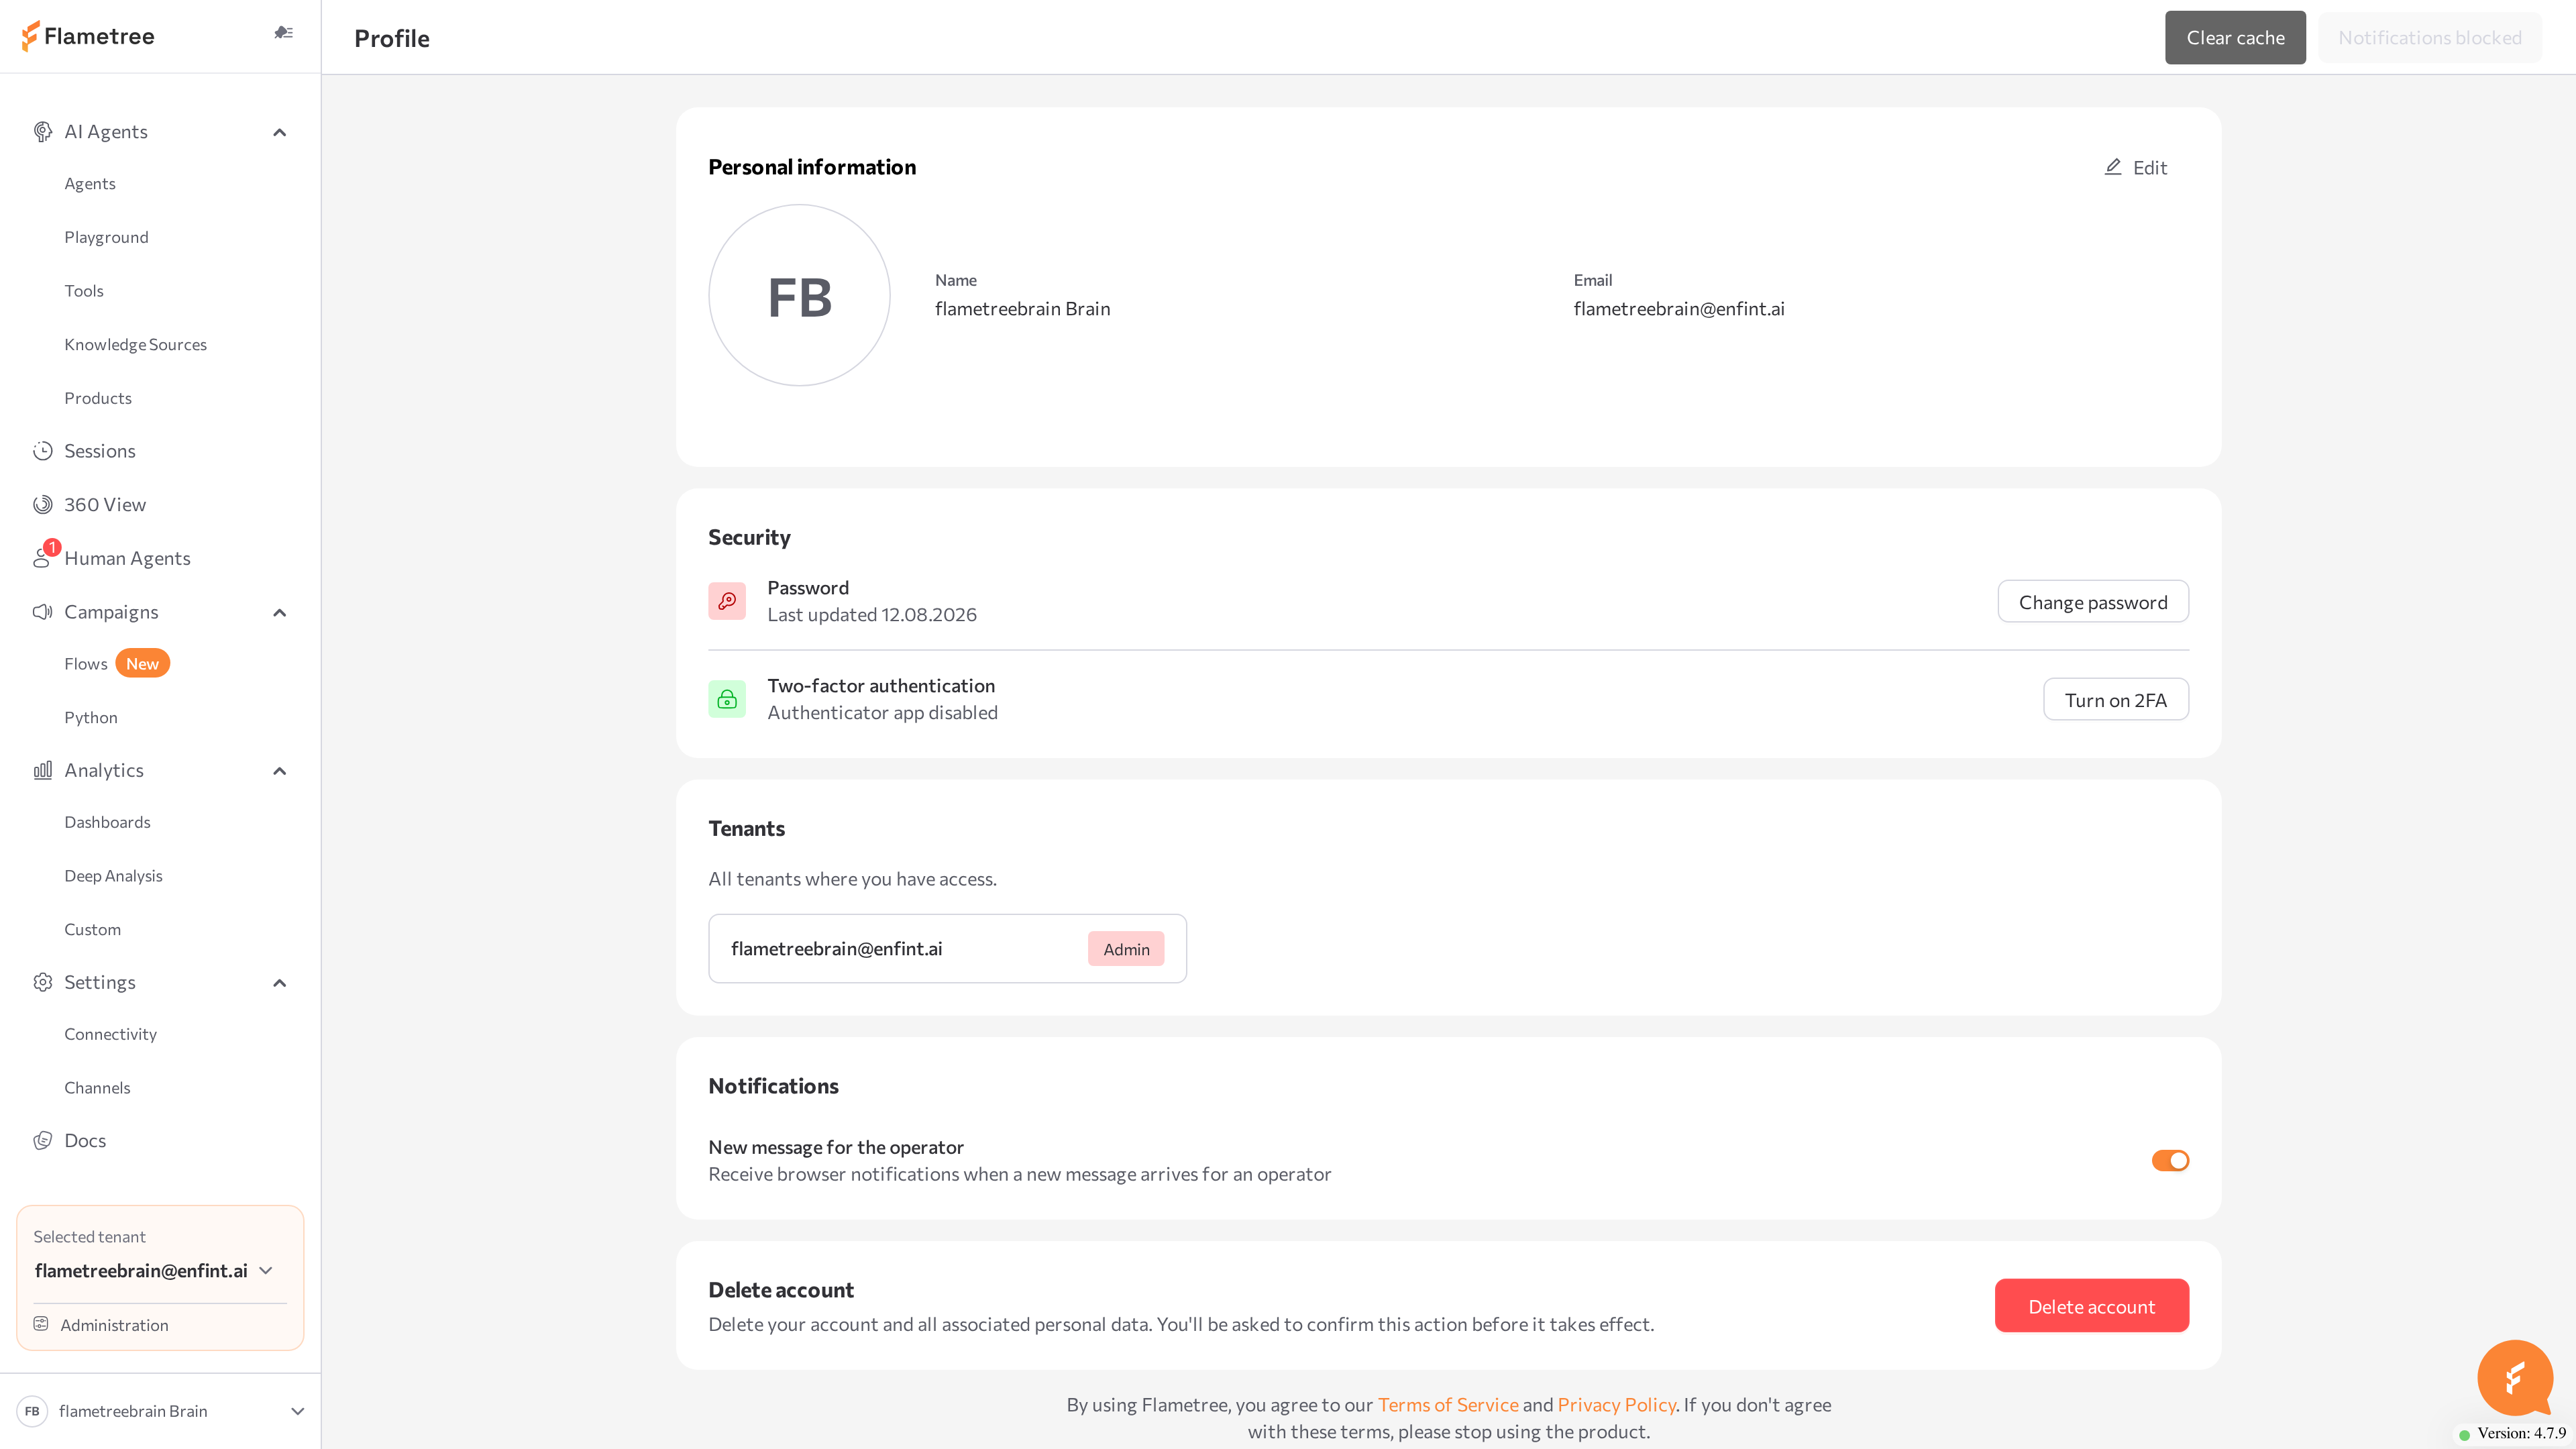
The Profile page is your personal account area in Flametree. The Account tab holds your personal and organization details; the Billing tab manages your subscription, session usage, and payments — see Billing.
Use it to:
- Change your display name and keep your organization's contact and address details current.
- Turn on browser notifications.
- Track your trial status, billable session usage, plans, and payment methods — covered on the Billing page.
Before you start
- You are signed in to the portal.
- What you can see and edit depends on your role: some roles can view details without changing them.
Open your Profile
- In the bottom-left corner of the portal, click the item with your user name.
- The Profile page opens on the Account tab.
The page header also has three buttons:
- Clear cache — resets the portal cache when the interface misbehaves or shows outdated data: Clear base cache refreshes application data and keeps you signed in (try it first); Clear all cache is a full reset that signs you out.
- Enable notifications — turns on browser notifications. See Turn on browser notifications.
- The logout button (exit icon) — signs you out of the portal.
Account tab
The Account tab holds your personal details and your tenant organization's details. Organization details are shared by everyone in your tenant.
Update your personal information
The Personal information section has two fields:
| Field | Description |
|---|---|
| Name | Your display name in the portal. Editable. |
| Role | Your role in this tenant. Read-only — roles are assigned by your administrator. |
To change your name:
- Open Profile > Account.
- Edit the Name field.
- Click Update.
The confirmation User updated successfully appears.
Security: password and two-factor authentication
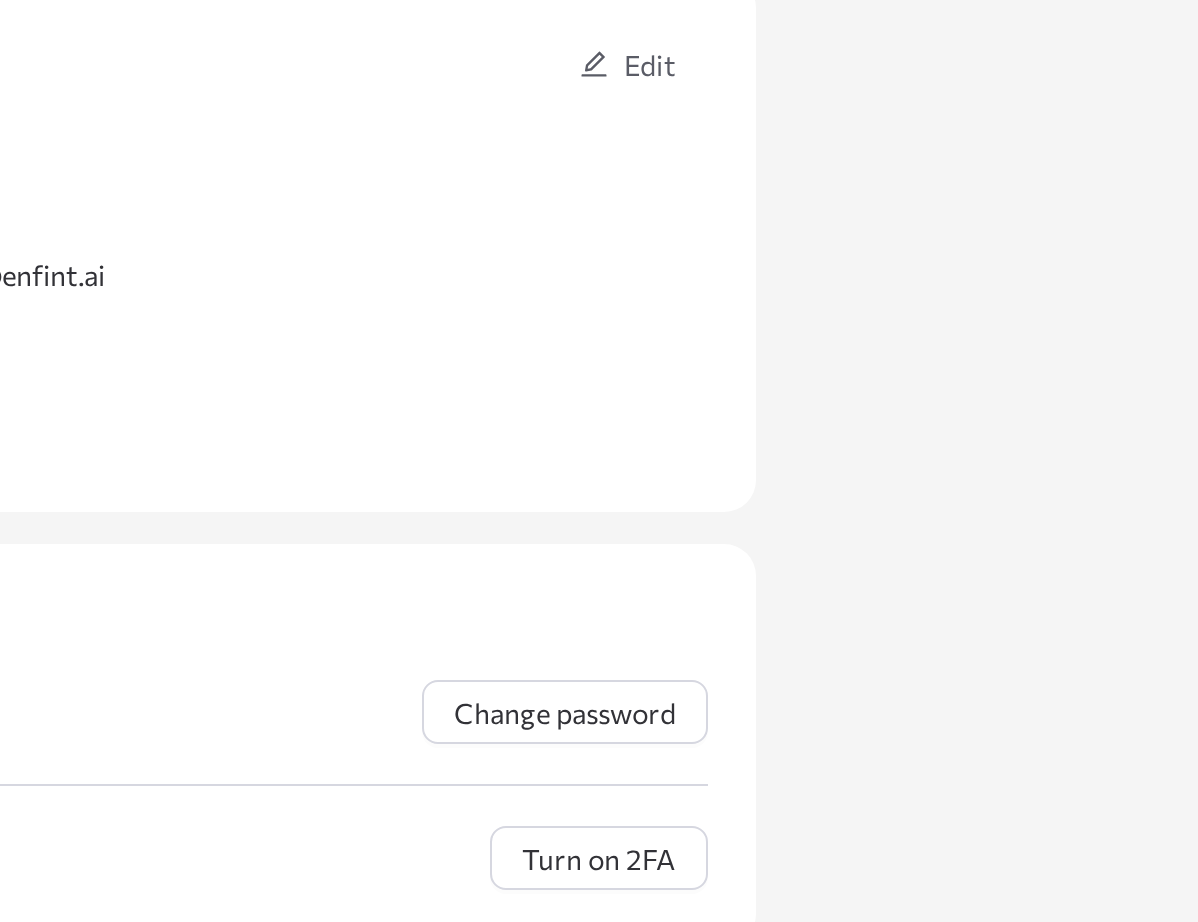
The Security section of the Account tab has two rows: Password and Two-factor authentication.
To change your password:
- Open Profile > Account and find Security.
- Next to Password, click Change password.
- Enter your Old password, then a New password (at least 12 characters, mixing uppercase and lowercase letters, and at least one number or special character) and repeat it.
- Click Update password.
To turn on two-factor authentication:
- In the same Security section, next to Two-factor authentication, click Turn on 2FA and follow the setup steps to link an authenticator app.
- On your next sign-in, enter a code from the app in addition to your password.
To turn it off, click Turn off 2FA and confirm with your current password.
If you sign in through an external identity provider, both Change password and the 2FA button are disabled — the section explains that password and 2FA are managed by that provider instead.
See your tenants
If you have access to more than one tenant, the Account tab lists every tenant you belong to, with your role in each. Use the tenant selector in the bottom-left corner of the portal to switch which tenant you're working in — see Administration for switching and managing tenants as an admin.
Update your organization details
The Customer organization section describes your tenant organization in three groups: Main Information, Contacts, and Address.
| Group | Field | Rules |
|---|---|---|
| Main Information | Name | Required. |
| Main Information | Billing email | Required; must be a valid email address. |
| Main Information | Description | Required. |
| Contacts | Phone | Required; 7–15 digits, with an optional leading +. |
| Contacts | Website | Optional; a valid URL starting with http:// or https://. |
| Address | Country | Required; pick from the searchable list. |
| Address | Street | Required; 3–100 characters. |
| Address | ZIP code | Required; 3–10 characters. |
To update the details:
- Open Profile > Account.
- Edit the fields in the Customer organization section.
- Click Update.
The confirmation Tenant updated successfully appears. If a field fails validation, an inline message under the field explains the expected format.
Delete your account
Deleting your account removes your personal data and every tenant membership you have — this is permanent and cannot be undone.
- Open Profile > Account and find the Delete account card.
- Click Delete account.
- If you own a tenant, the dialog stops you here: You can't delete your account while you own a tenant. Transfer ownership to another member first, then try again. Click Got it, then see Transfer tenant ownership.
- If you don't own a tenant, the dialog explains: Deleting your account is permanent. All your personal data and tenant memberships will be removed and cannot be recovered. If you're assigned as an operator on any agents, it also lists them.
- Enter your current password to confirm your identity and click Delete account.
You're signed out immediately after. Flametree does not send a confirmation email for account deletion.
If you're the only member of your tenant, you can't transfer ownership — there's no one else to transfer it to — which means you also can't delete your account through this flow. Ask an administrator with broader access, such as a platform admin, for help.
Turn on browser notifications
Browser notifications alert you to portal events — for example, new messages in sessions assigned to you — even when the portal tab is in the background.
- Open Profile.
- In the page header, click Enable notifications.
- Allow notifications in the browser prompt.
The button changes to Notifications enabled.
If the button reads Notifications blocked, your browser blocks notifications for the portal site — allow them in your browser's site settings; the portal cannot override this. On some deployments the button does not appear, because browser notifications are not set up there.
Common issues
- Changes on the Account tab do not save. Your role may not allow editing — if the fields are disabled or there is no Update button, ask your administrator.
- The organization section shows "Please, add at least one user or contact admin". Your account is not linked to a tenant organization yet — contact your administrator.
- The portal shows outdated data. In the Profile header, click Clear cache > Clear base cache. If the problem persists, use Clear all cache — this signs you out.
- Change password or the 2FA button is disabled. You sign in through an external identity provider — that provider manages your password and any second factor, not the portal.
- Delete account tells you to transfer ownership first, but you have no one to transfer it to. You're the sole member of a tenant you own. Add another user and make them an admin before you can transfer ownership and delete your account — see Add a user.
Related pages
- Billing — subscription, session usage, plans, and payments
- Administration — tenant profile, billing, and switching tenants
- Manage users and roles — manage your team's users and roles
- Notifications — notification settings
- Portal tour — find your way around the portal